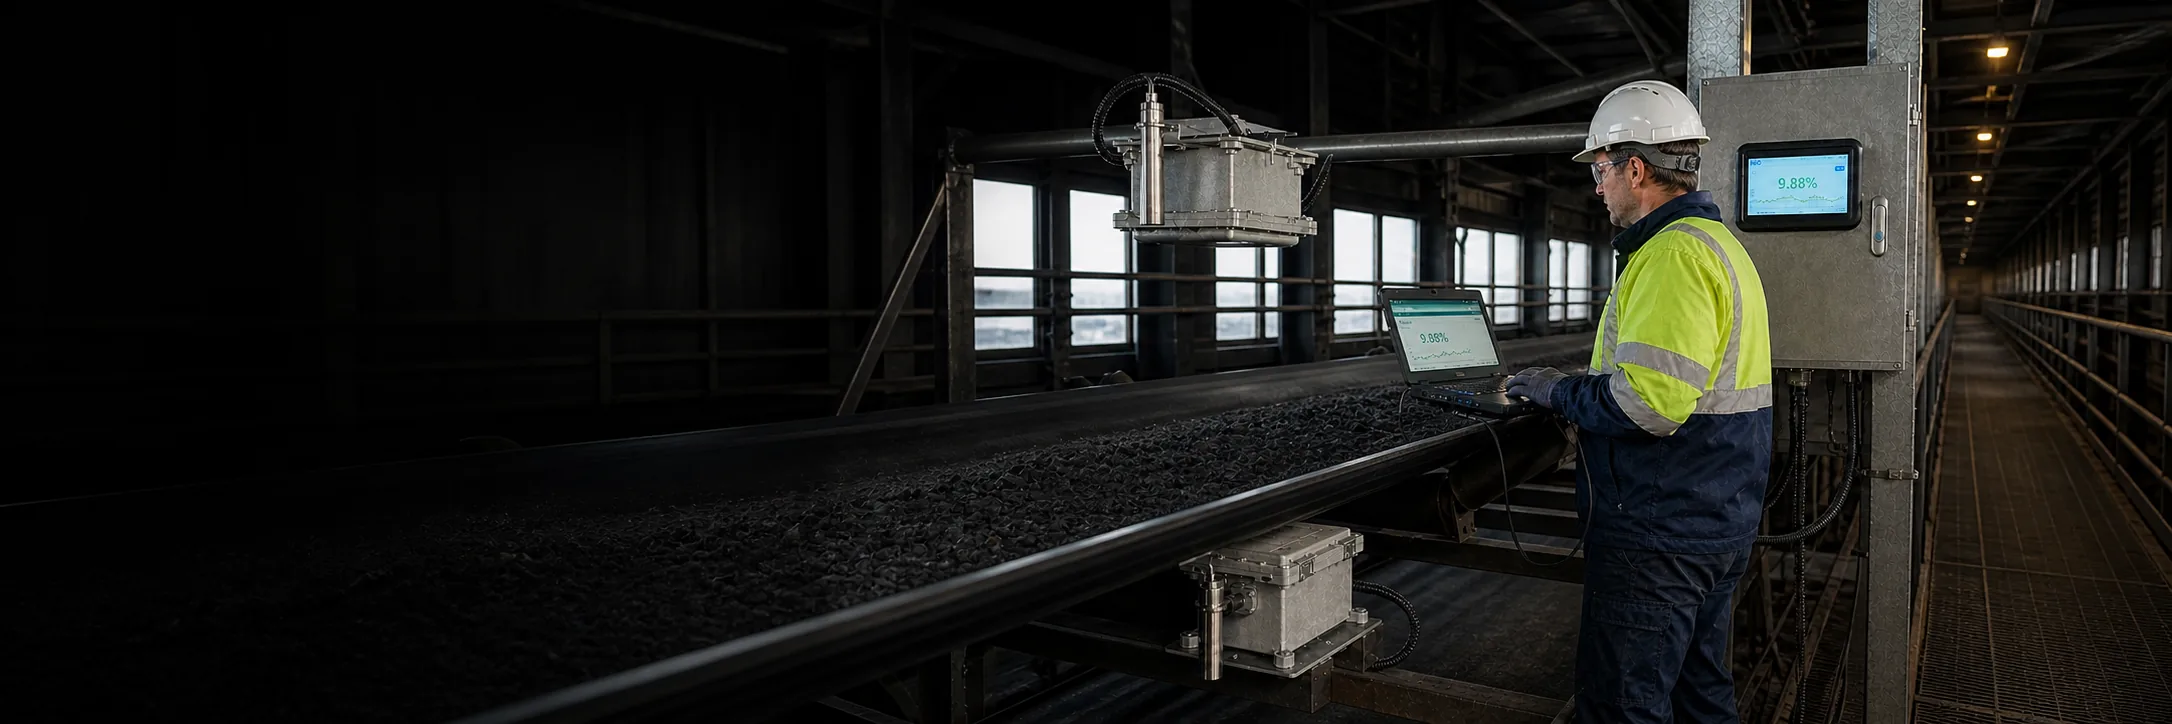
Performance depends on the material, reference method, operating range and installed configuration described in the project.
Define the result before collecting samples
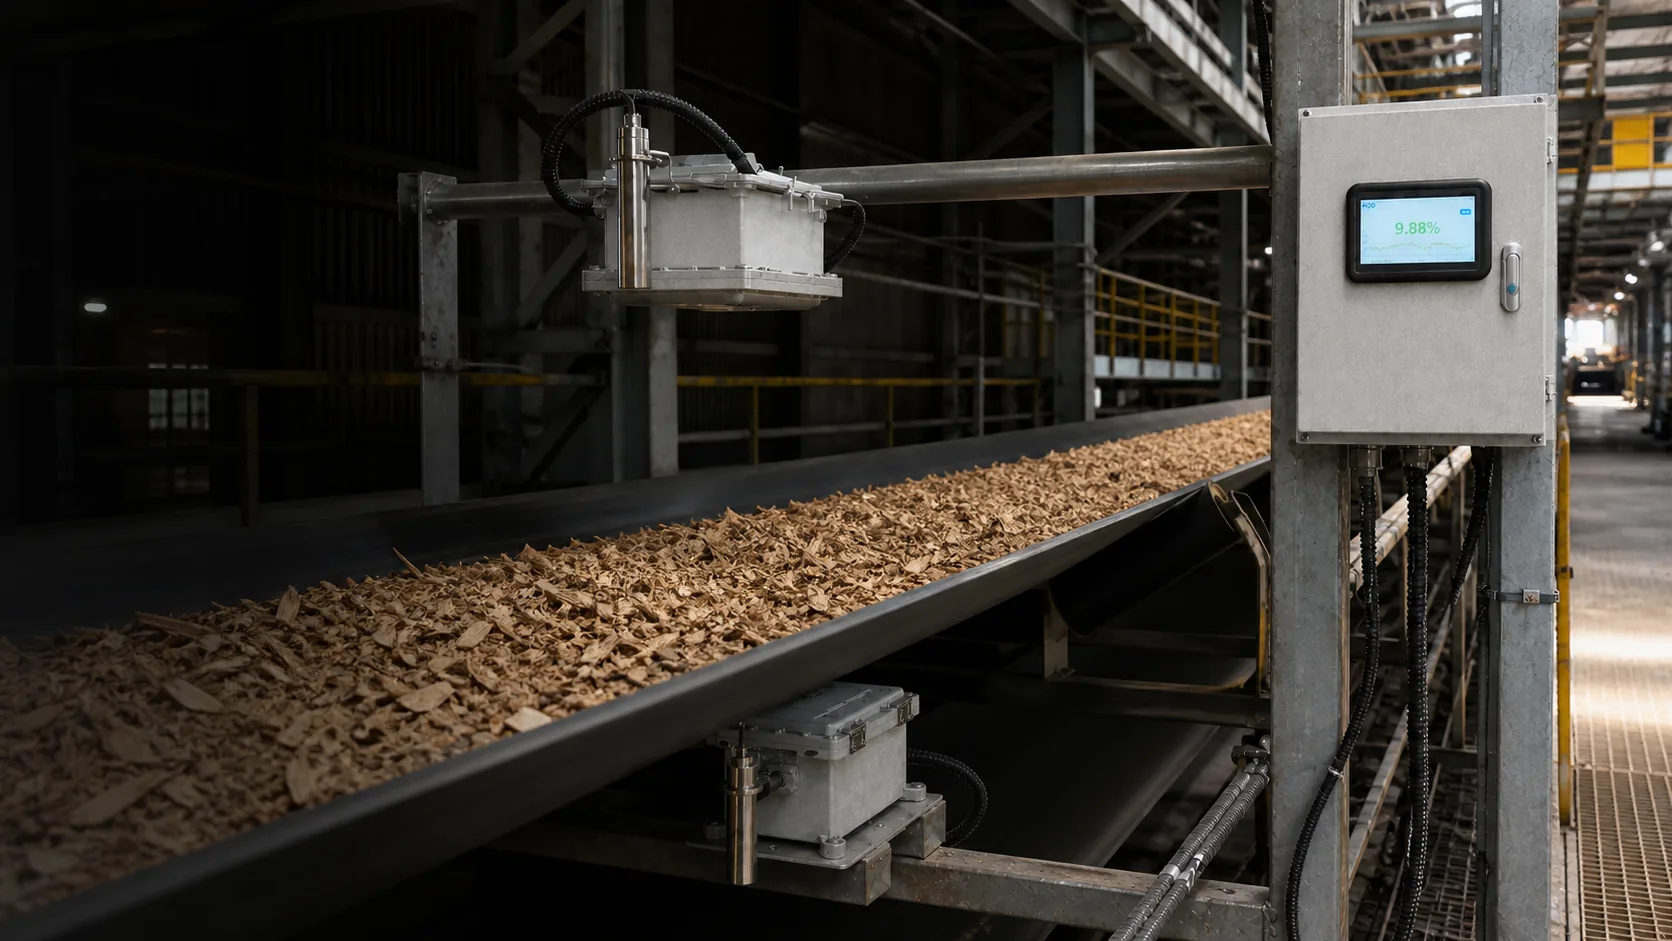
Agree material, wet- or dry-basis reporting, laboratory method, online averaging period, required range and intended production decision. Record the sensor position and the sample point.
Pair the same material and time
Calculate travel delay from the online measurement zone to the safe sampling point. Use belt speed, mixer cycle or product tracking to associate each sealed sample with the correct online window.
Cover real production variation
Include low, normal and high moisture, plus important suppliers, recipes, densities, temperatures, line speeds and seasons. Repeated portions from one stable batch do not demonstrate the full application.
Separate calibration from validation
Build or adjust the model with one dataset, then lock it. Evaluate independent batches or time periods using agreed statistics such as bias, residual spread, MAE or RMSE, always with sample count, range and conditions.
Investigate patterns before changing coefficients
If results disagree, review sampling, timestamps, reference repeatability, build-up, alignment and influential variables. A coefficient change should follow evidence, not hide a systematic test problem.
Worked timing example
If the safe sample point is 12 m downstream and material speed is 0.4 m/s, the expected travel delay is 12 ÷ 0.4 = 30 s. Pair the sealed sample with the agreed online averaging window around that passage, then verify the calculated delay with a traceable batch or marker before using it in the protocol.
Before you act
Engineering checklist
- Approve the test protocol before sampling
- Record timestamps, batches and operating state
- Seal samples immediately
- Include range edges and influential variables
- Reserve independent validation material
- Report bias and spread with conditions