← Back to all industries

Industries and materials

Wood and engineered panels

Moisture affects drying load, resin response, pressing and finished-board stability. The useful measurement point changes with chips, fibres, veneer and finished panels, so the route must follow the material form.

Contact an engineer
Wood and engineered panels

Process scenes and measurement points

Follow the material from moisture risk to control action

Each route starts with a real material flow. Define the risk, choose a representative measurement point and decide what the validated result will change.

Furnish before the dryer
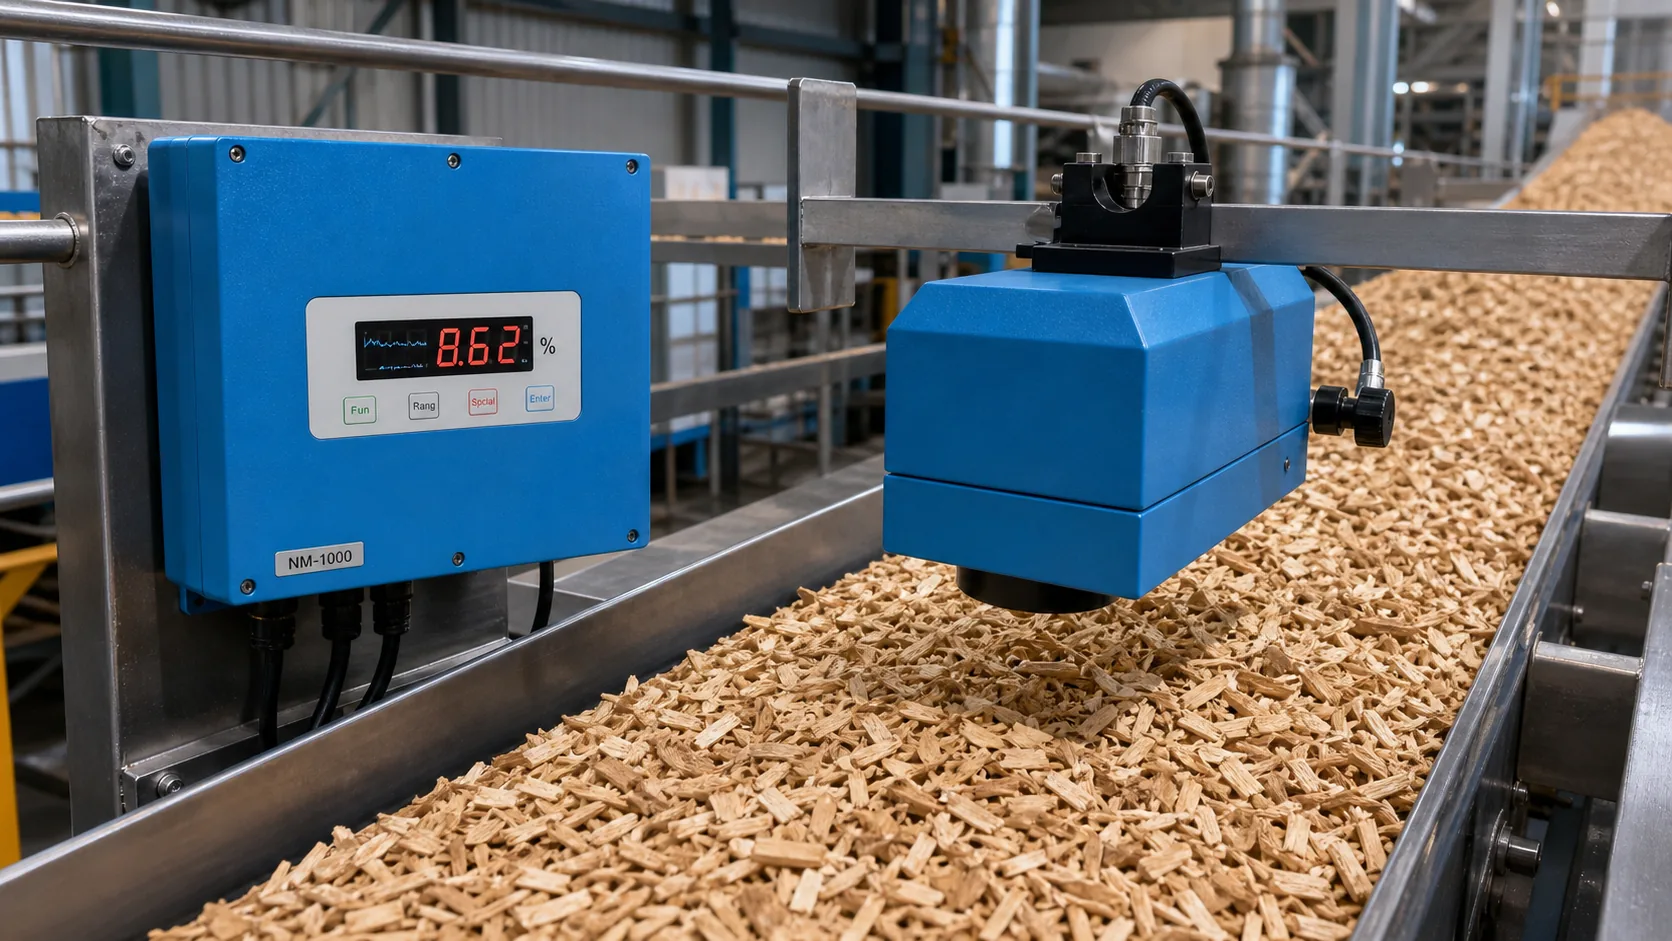
01Furnish drying control

Furnish before the dryer

Material
Wood chips, flakes, fibres and veneer furnish
Moisture risk
Species, bark, geometry and density changes can mask the moisture load entering drying.
Measurement point
A mixed, consistently covered belt or chute before the dryer, with safe paired sampling.
Control action
Set drying or material-routing action by furnish group and block values outside the validated range.
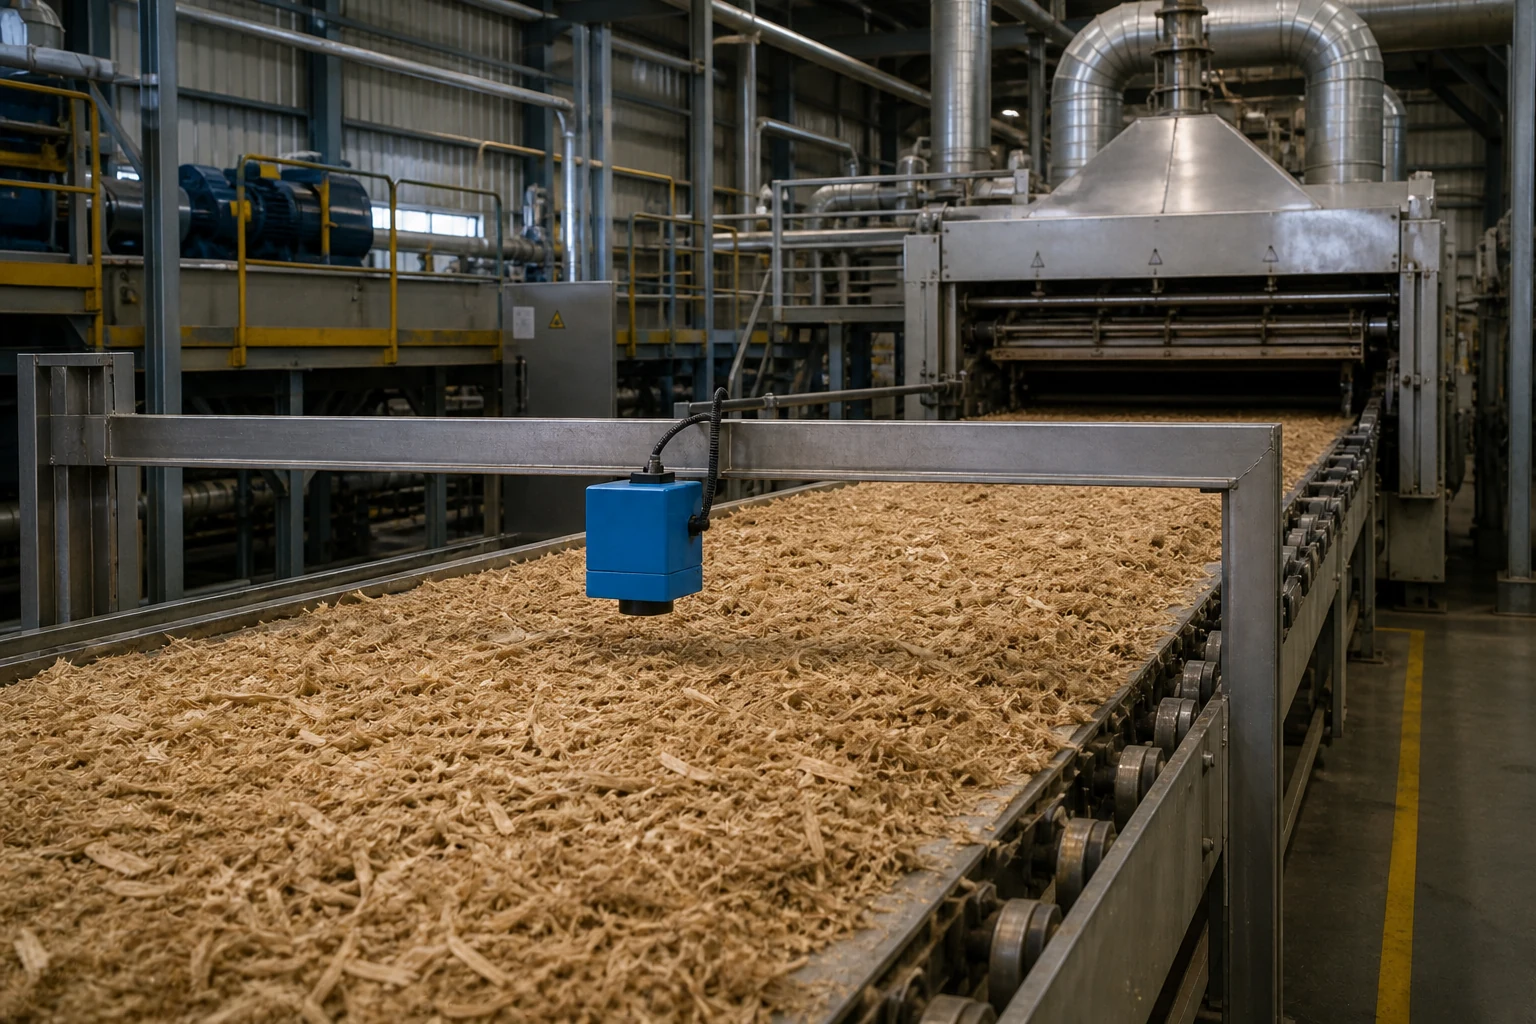
Blending, forming and press feed
02Blending and pressing stability

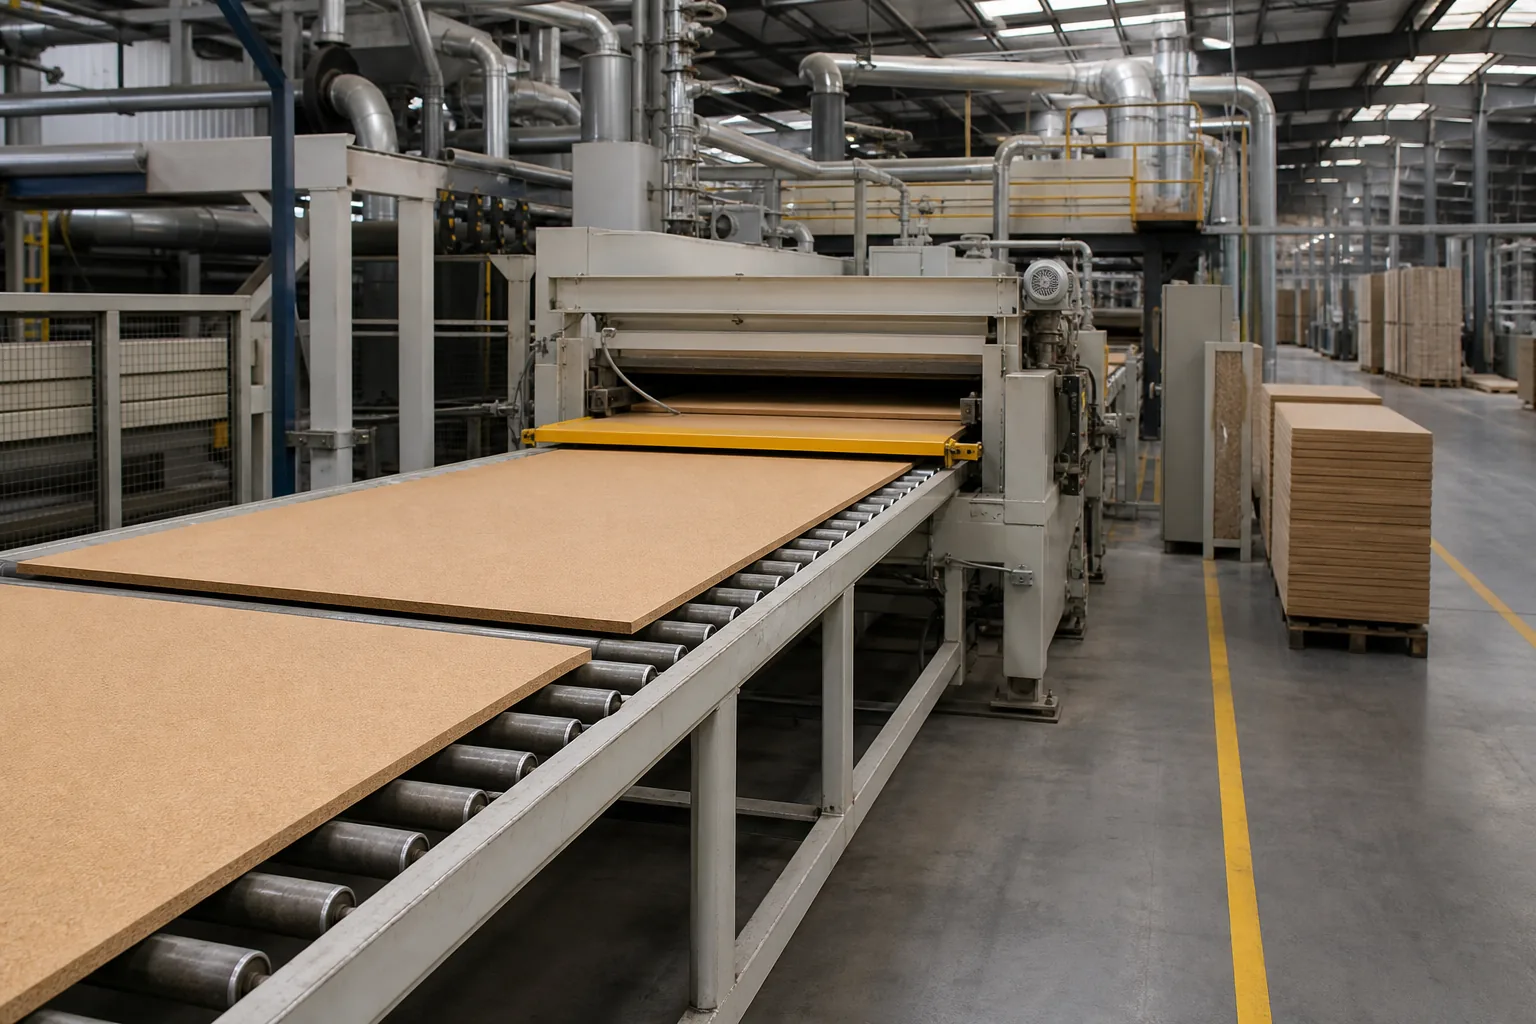
Blending, forming and press feed

Material
Dried fibre, strands and resin-coated furnish
Moisture risk
Moisture and transport delay affect resin response, mat formation and press stability.
Measurement point
A representative stream aligned to the furnish batch reaching blender, forming line or press.
Control action
Use recipe-specific warnings and trial bounded corrections before approving automatic action.
Finished board inspection
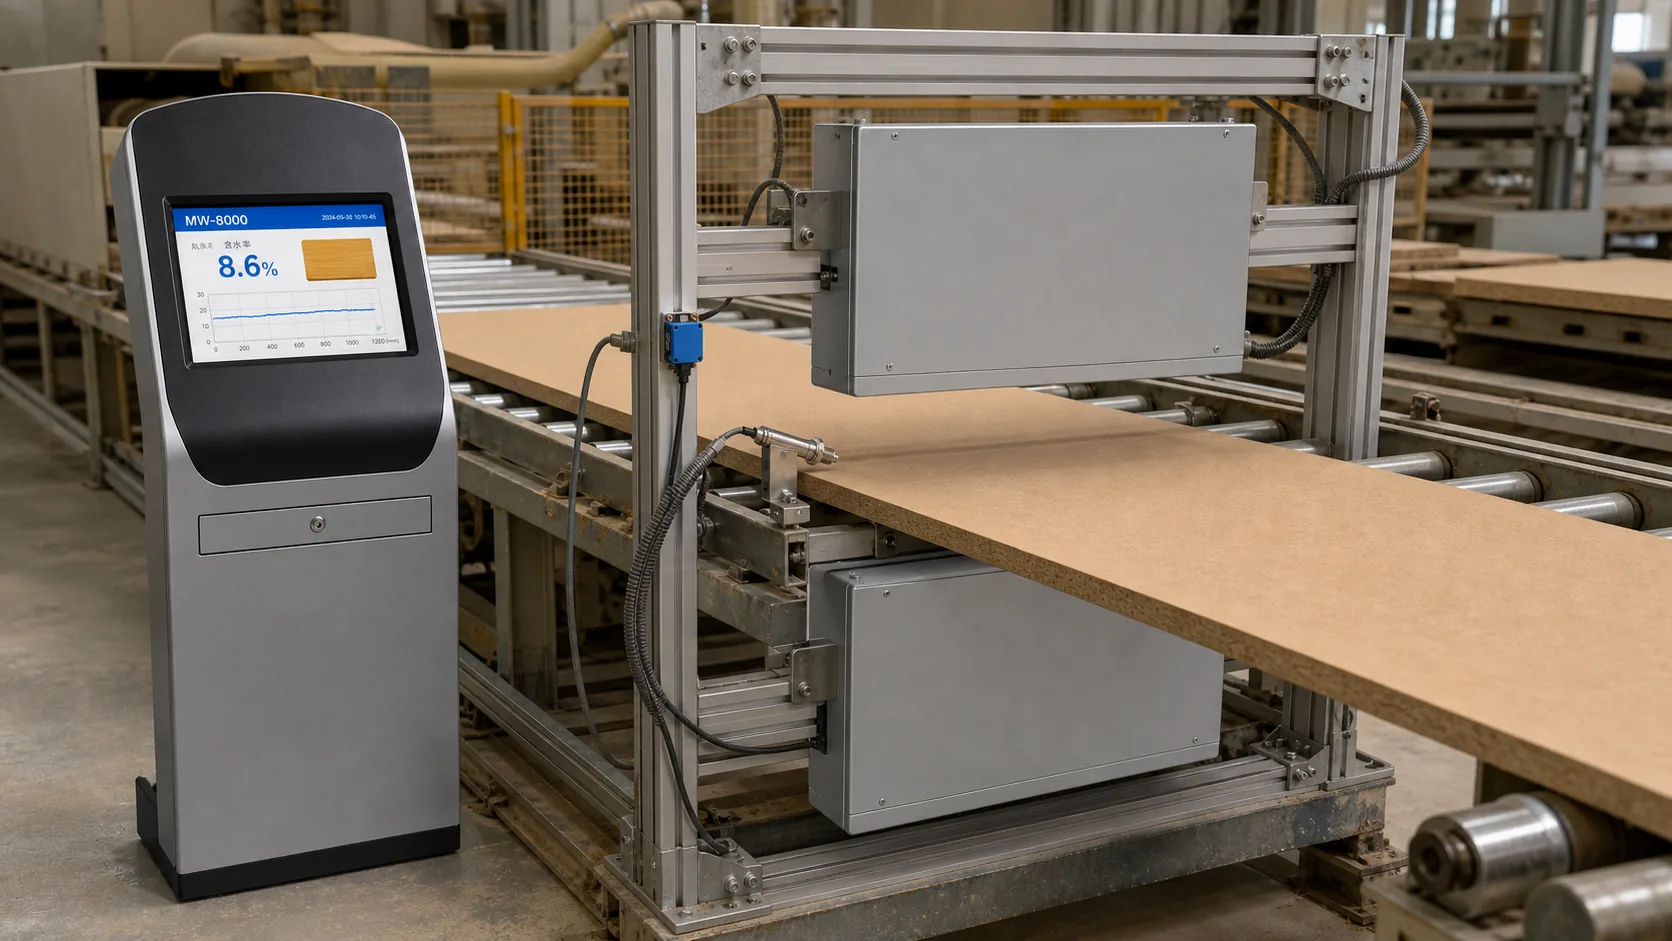
03Finished-board moisture profile

Finished board inspection

Material
MDF, OSB, particleboard and wood-based panels
Moisture risk
Wet or dry lanes and board-to-board variation can pass unnoticed with one centreline value.
Measurement point
Repeatable cross-machine sections after pressing or conditioning, linked to board identity.
Control action
Classify production and trace variation back to forming, drying or pressing conditions.

Practical moisture testing

How to control moisture in wood and engineered-panel production

Moisture affects drying load, resin response, pressing and finished-board stability. The useful measurement point changes with chips, fibres, veneer and finished panels, so the route must follow the material form.

01

How do you measure furnish moisture before a board dryer or blender?

Measure a mixed, consistently presented stream close enough to the dryer or blender to support action. Build separate calibration evidence when species, bark, resin or furnish geometry changes the response.

How to do it
  1. Identify the control point and the actual material arriving there.
  2. Stabilise bed coverage and define safe paired-sampling access.
  3. Validate by species mix, furnish size and the full operating moisture range.
Variables to control

Species, bark, particle or fibre size, bulk density, temperature and resin contamination.

Use the result to

adjust drying or blending before variation reaches the press.

Read the full methodWood and engineered-panel moisture control from furnish to finished board
02

How do you control moisture before blending and pressing MDF, OSB or particleboard?

Use the measurement as a feed-forward quality input and account for process delay. Automate only within grade-specific limits after the site interface, interlocks and invalid-data response have been verified.

How to do it
  1. Link sensor time to the furnish batch reaching the blender or press.
  2. Define recipe-specific target, warning and action bands from production evidence.
  3. Trial bounded corrections manually, verify resin, press and finished-board responses, then approve any automatic mode.
Variables to control

Transport delay, recipe grade, resin addition, dryer response, line speed, interlocks and signal validity.

Use the result to

reduce furnish variation while protecting board quality and process stability.

Read the full methodClosed-loop moisture control: move safely from trending to automatic action
03

How do you scan moisture across the width of a finished board?

A single centreline value cannot reveal edge-to-edge variation. Use multiple sections or a traversing strategy, track each value to board identity and define edge exclusions explicitly.

How to do it
  1. Define active width, board position and minimum valid coverage.
  2. Measure repeatable cross-machine sections and synchronise them with board tracking.
  3. Compare width profiles with conditioned reference pieces and downstream defects.
Variables to control

Board thickness, density profile, edge geometry, gaps, temperature and line tracking.

Use the result to

identify wet or dry lanes and trace variation back to forming, drying or pressing.

Read the full methodBoard and sheet moisture scanning: control across width, thickness and product identity
04

Should you use NIR or microwave measurement for wood products?

Choose according to the material volume and process decision. NIR is sensitive to the observed surface; microwave routes can observe a deeper path but are also affected by density, thickness and geometry.

How to do it
  1. Define whether the quality question concerns surface condition, bulk furnish or full board thickness.
  2. List normal colour, species, density, thickness and distance variation.
  3. Pilot the shortlisted route against the same paired reference set and decision criteria.
Variables to control

Surface finish, colour, contamination, density, thickness, distance and required measurement volume.

Use the result to

select the route that represents the quality decision rather than the easiest mounting point.

Read the full methodNIR, contact microwave or transmission microwave: how to choose
05

How do you validate a wood-product moisture calibration across product grades?

Keep grade and species identity in the dataset and reserve independent production runs for validation. A strong overall correlation can hide systematic bias in a smaller but commercially important grade.

How to do it
  1. Design the dataset across species, grade, thickness and seasonal moisture range.
  2. Separate calibration records from independent validation records.
  3. Review bias and residuals by grade and define when a new model or revalidation is required.
Variables to control

Uneven grade counts, reference conditioning, recipe changes, sensor maintenance and model version.

Use the result to

know which grades the calibration supports and prevent silent use outside its validated scope.

Read the full methodDesign a calibration dataset that covers real production

Project success factors

Build a reliable measurement result

Share your material, moisture range and process conditions to receive a focused measurement recommendation.

  • A clearly defined material and process objective
  • A suitable sensor route and installation geometry
  • A representative reference method and calibration plan
  • Environmental and compliance requirements
  • Validation under real operating conditions

Application pathway

Place the measurement where it can change the process

Moisture affects drying load, resin response, pressing and finished-board stability. The useful measurement point changes with chips, fibres, veneer and finished panels, so the route must follow the material form.

01

Locate the variation

Map where moisture enters, separates, dries or is mixed before choosing an accessible measurement point.

02

Choose the representative point

Match surface, contact, transmission or scanning coverage to the material flow and the decision that follows.

03

Connect the reference

Align representative samples, method, calculation basis and laboratory time with the online measurement window.

04

Define the production action

Assign valid states, alarm limits, manual response, control authority and a review method for abnormal material.

Sources of moisture variation

Sources of moisture variation

Veneer variation, resin addition, press conditions, fibre distribution and dryer balance create moisture differences across and along a board.

Reference and operating response

Reference and operating response

Measure before forming, after drying or on finished panels according to the decision. Synchronise profile position with line speed and validate by product family, thickness and density before using moisture for control or classification.

Begin with an observation period that records the online value, reference samples, product identity and operating state. Use the combined record to set material groups and valid limits. Then introduce alarms, operator guidance or bounded control in stages, with a manual fallback and a documented response for off-specification or unmeasured material.

Discuss your material, process point and control objective

Share a few process details and our application team will recommend a suitable technology, installation concept and validation plan.

Contact an engineer
WhatsApp